Step by Step Guide to a Black and White Conversion

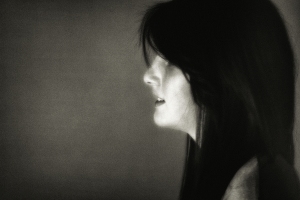
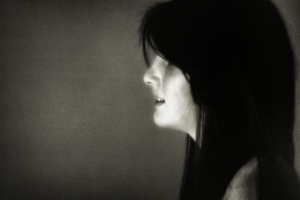
This is a Step-by-Step Guide as to how I go about making/editing “my” particular style of soft, or even whimsical, black and white images. The idea in a lot of them is to try and get the viewer to look longer and ask questions of the piece. In this I wanted a profile portrait, with lots of space in front of the face/model and unusually I wanted the mouth open: is if she’s talking to someone outside the left edge of the photo. Who’s she talking to, what’s she saying? Well, that was the idea!
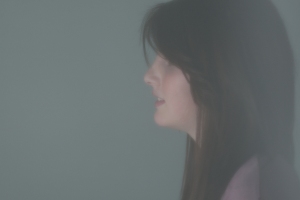
Step 1 – this is the original photo, shot with a 50mm prime Canon lens using a single Speedlite, mounted in a softbox and placed high and to the left. I am also using my secret light diffuser! If you want to know more, you’ll have to attend one of my photography courses in France at Studio Lavalette!
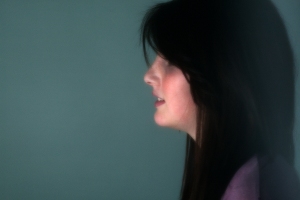
Step 2 – My secret light diffuser has the habit of scrunching-up the histogram, so using a Curves Adjustment Layer I’ve fixed it and it looked like this:
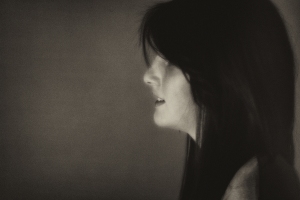
Step 3 – Now, using Silver Efx Pro (a Photoshop plug-in) I converted it to monochrome plus an orange filter and with a sepia tone:
Step 4 – Here I’ve applied another Curves Adjustment Layer, just to turn-down the sepia effect so that it’s almost, but not quite, a black and white image:
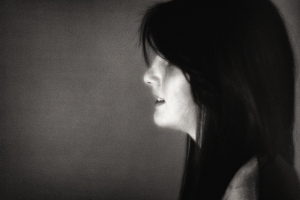
Step 5 – In this step I’ve applied an olive/green layer and blended using the Soft Light mode at 15% – it’s hardly visible but it is a very subtle change from Step 4, above:
Step 6 – In this final Step, I’ve removed, what I consider to be, the untidy light on her hair. This has the rather strange effect of now making all her hair look flat and two dimensional, yet the face tells you otherwise….if you follow my drift. Anyways, here’s the final image:
And that’s that really!


Hi great use of negative space – thanks
http://www.andybeelfrps.co.uk
Thanks for your comment Andy – I thought so too! Cheers, Don